Assistants are a way to create custom experiences related to searching and answering questions for various use cases.
-
They allow you to customize
- Prompt used by the selected LLM model to answer the user's question
- Documents used as context
How to create assistants?
Go to the Admin Panel, located in the top right corner of the screen.
Go to the "Assistants" section in the menu on the left side of the screen.
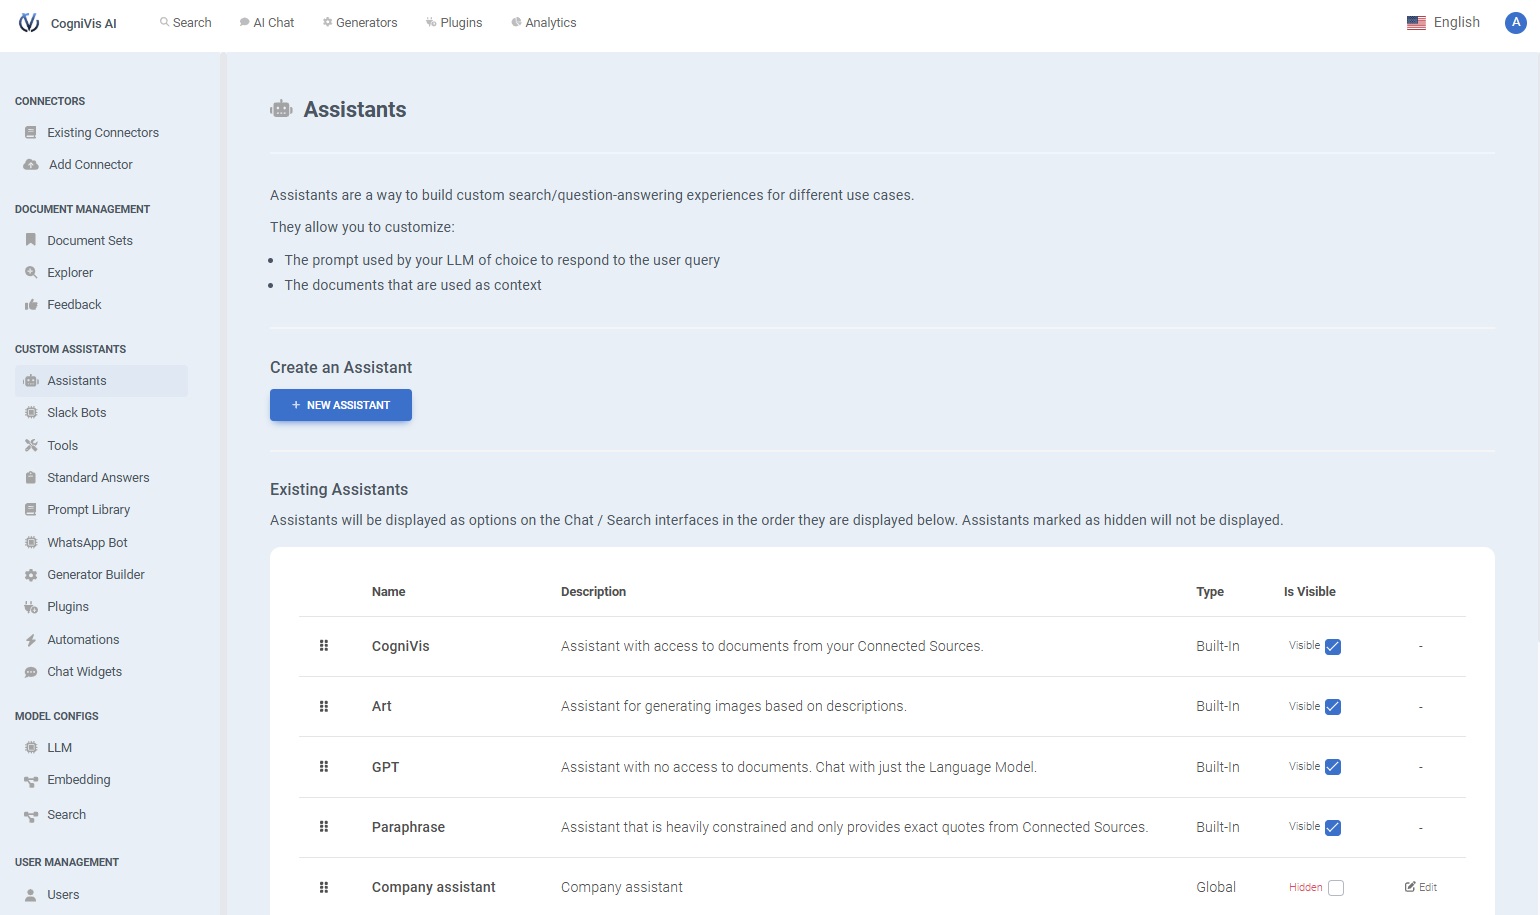
Click "New assistant."
Fill in the assistant’s details.
-
Name the assistant
- In the "Name" field, enter a name that reflects the assistant's purpose.
-
Provide a description
- In the "Description" field, write a short description that explains the main function or goal of the assistant. This helps understand when to choose this assistant.
-
Set the assistant icon (optional)
- If you want to customize the assistant’s icon, you have two options
- Regenerate - Click to automatically generate an icon.
- Upload Image - Alternatively, you can upload a .png or .jpg file to set your own image for the assistant. This will override any generated icon.
-
Write the system prompt:
- In the "System Prompt" section, provide a detailed description of what the assistant should do. This may include the target audience, main goal, and specific tasks it should assist with.
- Example - "You are an assistant for on-call engineers. Your goal is to review the provided contextual documents and give recommendations on how to solve the problem."
-
Choose the LLM provider:
- From the "LLM Provider" dropdown menu, select the language model that will power the assistant.
-
Enable advanced features (optional):
- If you need advanced capabilities, select the appropriate options
- Image Generation Tool - Allows the assistant to create images based on text descriptions.
- Search Tool - Enables the assistant to search for information in real-time.
-
Add additional instructions (optional):
- In the "Additional Instructions" field, provide specific directions to guide the assistant’s actions when handling user queries.
-
Add starting messages (optional):
- If you want the assistant to start conversations with predefined messages, click the green ADD NEW button. This allows setting an initial message users will see at the beginning of interactions with the assistant.

-
Set availability:
- Is Public - Check this box if you want the assistant to be available to all users. If left unchecked, only specific user groups will have access to the assistant.
-
Finish and create:
- After configuring all options, click the CREATE button at the bottom to save and launch the assistant.
In the "Assistants" tab, found in the left menu, you will be able to see all your assistants and modify them as needed.
How to use assistants?
Go to "AI chat" at the top of the screen.
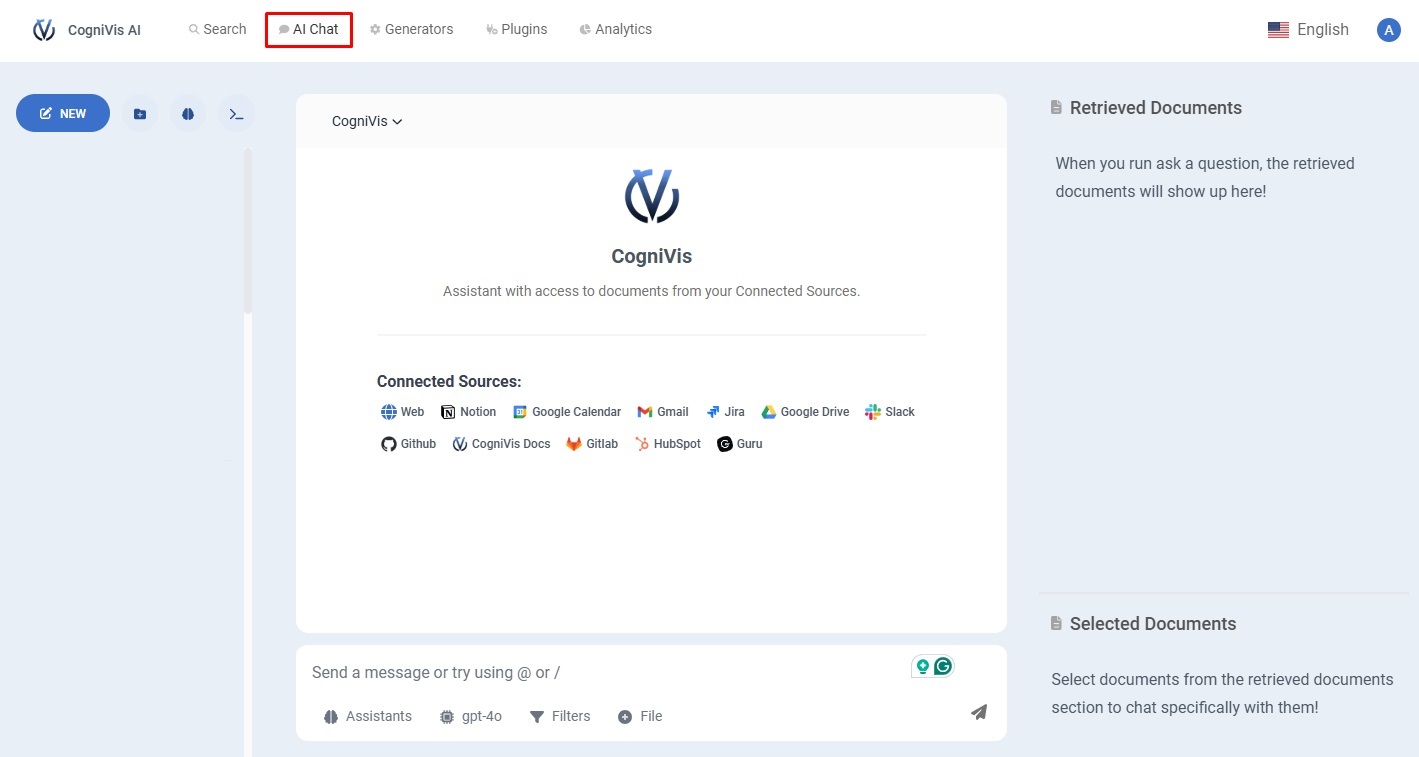
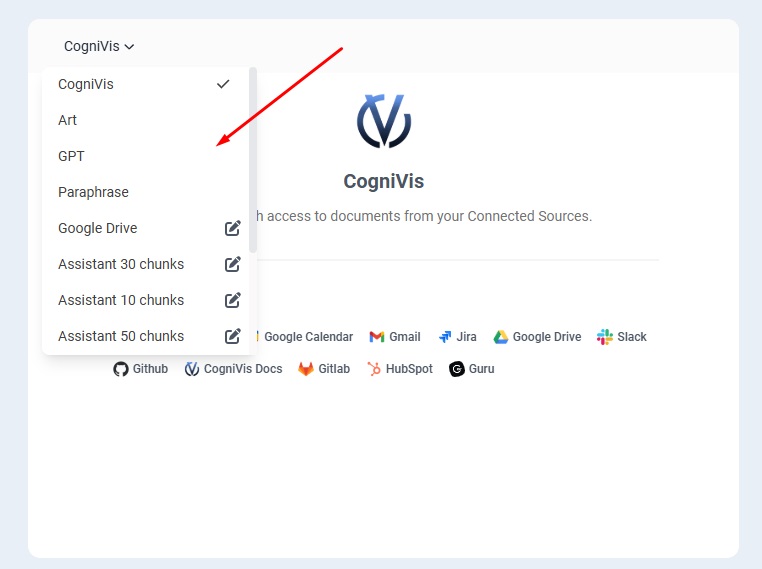
You will be able to select the assistant you want to use from the dropdown list.
After choosing the assistant, you can ask a question. The assistant, using connected data and its instructions, will provide an answer.
Sources for the answer can be viewed on the right side of the screen and as links directly in the response.

-
Set clear and specific goals
- When configuring the assistant, carefully consider its main goal. The more specific the goal, the better the assistant will perform. A clear goal also helps set the system prompt and choose the right LLM, ensuring relevant answers.
-
Customize system prompts for precision
- Adjust the system prompt to give the assistant specific guidance about answers, tone, and knowledge areas. This can include considering typical queries, preferred answer styles, or industry-specific terminology.
-
Regularly update and refine the assistant’s scope and content
- As business needs evolve, the assistant should evolve too. Regularly reviewing and updating the system prompt, knowledge base, and features ensures it remains current and useful.
-
Formulate questions clearly and concisely
- Clarity and conciseness are key for effective prompt use. When questions are clear and specific, the assistant better understands intent and provides relevant answers. Avoid overly complex language and ambiguous terms, focusing on essential details. For example, instead of asking "Tell me everything about data science," use "Give a brief overview of data science and its main areas."
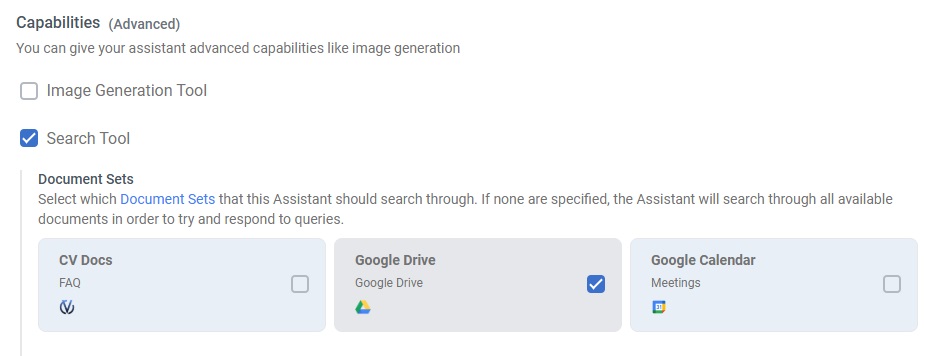
Search tool
Document sets
Document sets allow you to limit the data scope analyzed by the assistant when providing answers, improving information accuracy, speeding up operation, and simplifying access management to different knowledge sources in the context of user queries.
To attach a document set to the assistant, go to the Capabilities section, enable the search tool option, then select the desired document set.
Number of chunks
The number of chunks determines how many text fragments the assistant analyzes. CogniVis sorts these fragments by relevance, starting with the most relevant and ending with less related ones. Increasing this number allows deeper content searching, reaching fragments less related to the initial query.
In most cases, it's best to leave the default value. However, in situations where CogniVis retrieves information from many equally important sources, increasing the number of chunks can be beneficial.

Apply LLM filter
The Apply LLM Relevance Filter option allows the assistant to pre-filter text fragments (chunks) based on their relevance to the user's query. This ensures the system selects only the most pertinent fragments for analysis, delivering more accurate and focused answers while ignoring less relevant content.
Usually it’s best to keep the LLM relevance filter enabled to get the most relevant results. However, if you’re not using a specific knowledge base or want the assistant to imitate the source’s writing style rather than extract precise information, consider disabling it.

Include citations
The Include Citations feature provides references to specific sources and sections from which the assistant's answers originate, allowing users to verify information accuracy and explore original context for deeper insights.
To enable the Include Citations option in the assistant, check it in the Capabilities section.

Internet search tool
The Web Search Tool allows the assistant to search the internet in real-time, providing answers based on information available online up to 2023. It helps fill gaps beyond the assistant’s built-in knowledge base while ensuring answers reflect content available on the web.
